Welcome to RTKSurvey.com

7 Common Total Station Setup Mistakes and How to Avoid Them
A total station can produce highly repeatable measurements while still giving incorrect construction coordinates. The problem is not always instrument accuracy. In many cases, it begins with station setup, orientation or an incorrect field setting.
A small mistake may affect every point measured from the same station. On a construction site, that can lead to misplaced foundations, incorrect column positions or unnecessary rework.
Here are seven setup mistakes worth checking before starting a survey.
1. Poor Centering Over the Survey Point
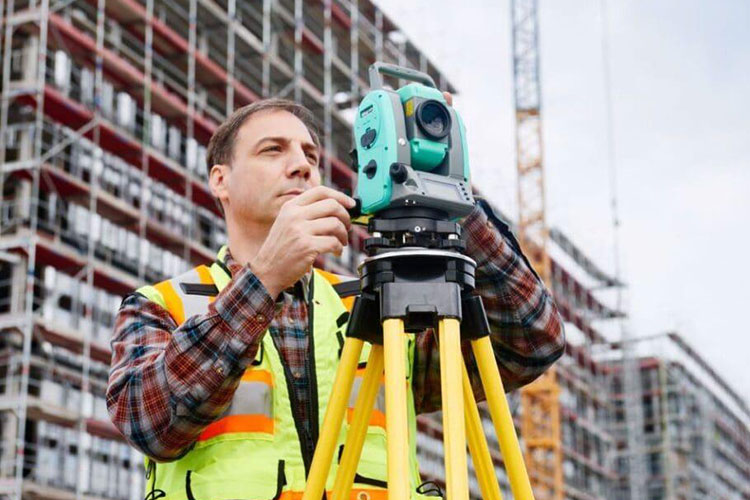
A total station should be centered over the intended station mark within the accuracy required by the job.
If the instrument is offset from the control point, its assumed position no longer matches its actual position. This can introduce errors into subsequent measurements.
Field check: Use the optical or laser plummet, level the instrument, and recheck centering. Adjustments to the tripod or tribrach can change both centering and leveling, so verify them together.
On soft ground, also check whether the tripod legs remain stable after setup.
2. Incorrect Backsight Orientation
The backsight establishes the horizontal direction used by the total station's coordinate calculations.
Selecting the wrong backsight point, entering incorrect coordinates or accepting a poor orientation can rotate the entire set of measured positions.
The effect becomes more noticeable farther from the instrument.
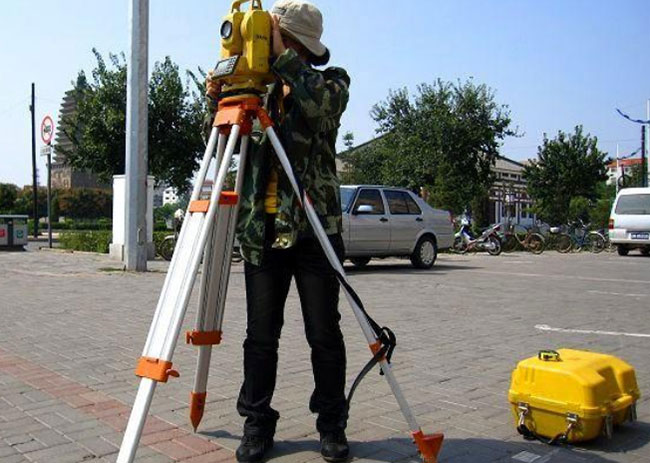
For example, a 30-arcsecond orientation error creates approximately 14.5 mm of lateral displacement at 100 meters.
Field check: Confirm the backsight point ID and coordinates, observe the target carefully, and measure an independent known point before beginning stakeout.
Do not rely only on the instrument displaying a successful station setup.
3. Wrong Instrument or Prism Height
Instrument height (HI) and target height (HT) are essential when calculating elevations.
A common mistake is measuring the correct height but entering it into the wrong field, using an outdated prism-pole height or selecting the wrong instrument-height measurement method.
A 20 mm target-height entry error can introduce approximately 20 mm of elevation error under a conventional coordinate-measurement workflow.
Field check: Measure HI according to the instrument manufacturer's procedure. Confirm the actual prism height and the controller's height-entry convention before collecting points.
Recheck target height whenever the prism pole or reflector configuration changes.
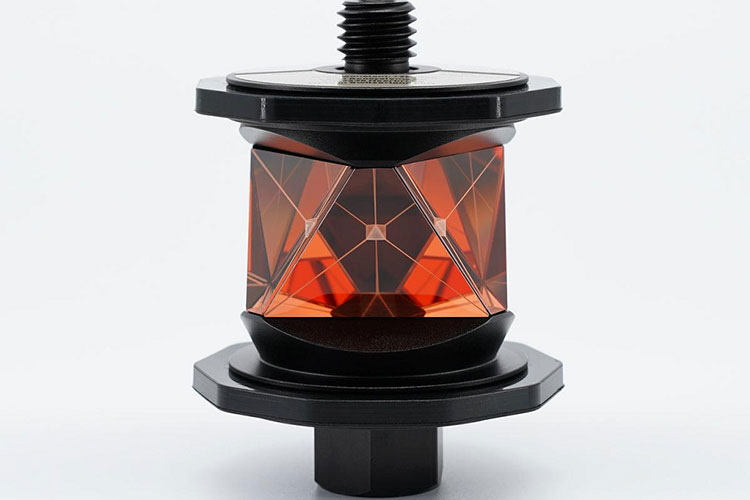
4. Incorrect Prism Constant
Different prisms and reflector assemblies can require different distance corrections.
If the total station uses the wrong prism constant, measured distances may contain a systematic offset.
For example, an uncompensated 30 mm difference between the required and applied prism correction can produce an approximately 30 mm distance bias, subject to the instrument's correction convention.
This matters particularly when switching between standard prisms, mini prisms and compatible third-party reflectors.
Field check: Verify the prism's specified correction, the total station's convention and the selected EDM target mode.
For more information, read our Total Station Prism Compatibility guide.
5. Mixing Coordinate Systems or Units
A total station may be functioning correctly while the uploaded project coordinates are wrong.
Possible causes include using a different coordinate reference system, confusing grid and ground distances, selecting the wrong localization parameters or mixing meters with feet.
These mistakes can produce errors much larger than the instrument's normal measurement uncertainty.
Field check: Confirm the project coordinate system, units, control-point file and any grid-to-ground or site calibration settings.
Before setting out construction points, measure independent known control and compare the results with the project's acceptance tolerances.
6. Ignoring Tripod Movement and Level Changes
Construction sites are not stable laboratory environments.
Heavy machinery, soft ground, temperature changes and accidental contact can disturb a tripod after the initial setup.
Even if the instrument was correctly leveled in the morning, its position or orientation may change during fieldwork.
Field check: Inspect tripod stability, monitor the level or compensator indication, and repeat the backsight check after any suspected movement.
A successful initial setup does not guarantee that the instrument remains correctly positioned throughout the day.
7. Starting Stakeout Without an Independent Check
One of the most costly mistakes is trusting the station setup simply because the instrument reports no error.
A wrong control point, coordinate file or orientation may still produce internally consistent measurements.
Field check: Observe at least one suitable independent control point that was not used to define the setup. Compare its measured coordinates with the verified project values.
If the discrepancy exceeds the project's tolerance, stop and investigate before marking construction positions.
Field Example: A 15 mm Layout Shift
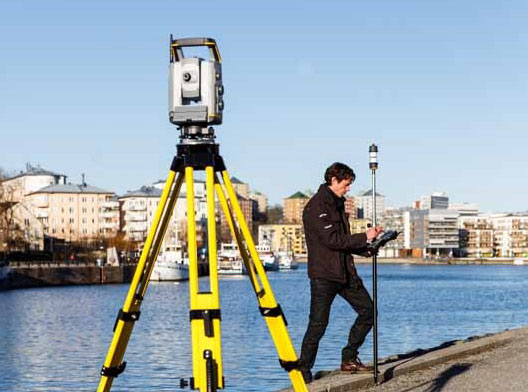
Consider a hypothetical construction project where a surveyor sets up a total station to mark foundation anchor locations.
The station coordinates are correct, but the backsight orientation contains an unnoticed error of 30 arcseconds.
At a stakeout distance of 100 meters, the approximate lateral displacement is:
100 m × tan(30/3600°) ≈ 0.0145 m = 14.5 mm
The instrument may still report precise angle and distance measurements. However, the resulting stakeout positions are rotated relative to the intended project orientation.
The error could be detected by measuring a separate control point before stakeout.
This example illustrates why a good instrument specification cannot replace an independent setup check. The calculated displacement represents the orientation error alone, not the total uncertainty of a real survey.
Quick Total Station Setup Checklist
Before collecting construction points, confirm the following:
| Check | What to verify |
|---|---|
| Centering and leveling | Instrument centered, leveled and stable |
| Station coordinates | Correct occupied point and coordinate file |
| Backsight | Correct target, coordinates and orientation |
| HI and HT | Correct measurements and entry conventions |
| Prism constant | Correct reflector setting and EDM mode |
| Coordinate system | Correct units, datum and project settings |
| Independent control | Check-point residuals within project tolerance |
If a check fails, resolve the problem before continuing. Do not adjust measured coordinates simply to make them match expected positions without identifying the cause.
Final Thoughts
Reliable total station measurements begin before the first construction point is marked.
Correct centering, backsight orientation, height entries and prism settings help prevent systematic errors. Independent control checks provide an additional safeguard against mistakes that may otherwise go unnoticed.
If you are comparing instruments for construction surveying, see our How to Choose a Total Station guide.
RTKSurvey.com supplies multi-brand Total Stations and surveying accessories for construction, engineering and land surveying applications.